Have you ever tried a baby carrier and not really felt comfortable in it? Did it pinch, squeeze or maybe even hurt? Was your back tense? Or the carrier just felt too big for your shoulders? If any of these are the reason why you have decided against a baby carrier, we are here to help and ensure you are comfortable. There is a suitable baby carrier for everyone, and more often than not the correct adjustment of your baby carrier is what decides whether it feels good or uncomfortable. So let our Midwife and Babywearing Consultant Katrin Ritter take you on a journey into the world of baby carriers and explain how you can adjust a baby carrier correctly.
Where to start, a wrap or baby carrier?
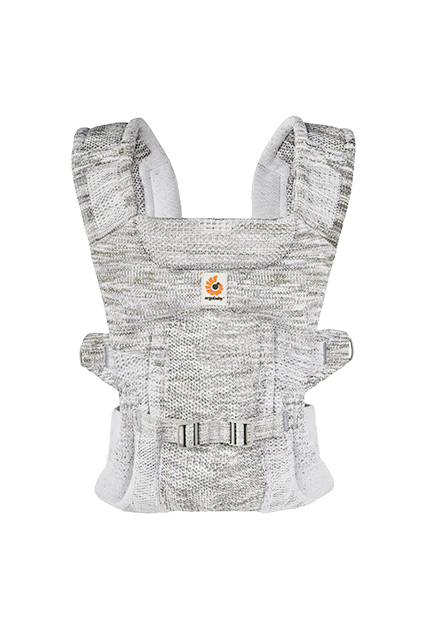
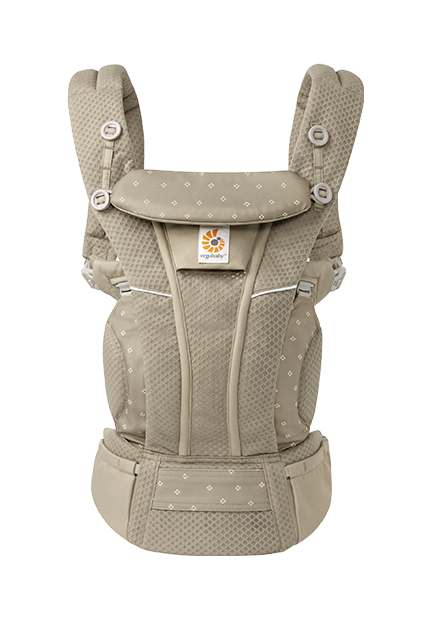
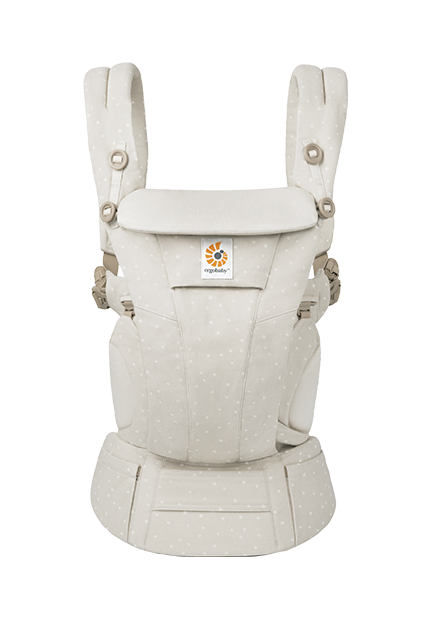
For all babywearing beginners, we would like to make a brief distinction between the different carriers. There are wraps, such as our Ergobaby Aura, which are tied around your body to carry your little one. Baby carriers, which include our Ergobaby Embrace, Omni Breeze, Omni Dream, Adapt or Aerloom – have a more structured shape and buckles on the waist belt and on the shoulder straps to attach to your body.
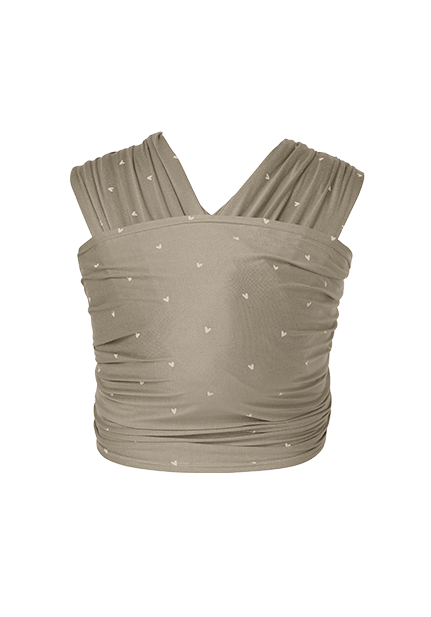
Our Aura wrap is a simple, soft, stretchy, comfy, supportive wrap with one ergonomic position:
- Front carry inward facing.
Watch our top tips for wearing the Ergobaby Aura baby wrap video here.
Our Embrace newborn carrier is a hybrid – simple to use like a structured carrier but soft and cosy like a wrap and has three different ergonomic positions:
- Newborn.
- Front carry inward facing.
- Front carry outward facing.
Find out how to wear the Ergobaby Embrace carrier in newborn carry position here.
Our Aerloom carrier made from FORMAKNIT™ material allows you to carry your baby in three different ergonomic positions:
- Front carry inward facing.
- Front carry outward facing.
- Back carry.
Find out how to face baby in with our Aerloom carrier here.
Our Omni Breeze and Omni Dream soft-structured carriers allow you to carry your baby in four different ergonomic positions:
- Front carry inward facing.
- Front carry outward facing.
- Hip carry.
- Back carry.
Watch how to front carry with baby facing inward with our Omni Breeze and Omni Dream carriers here.
Finally, our Adapt soft-structured carrier offers three different ergonomic carry positions:
- Front carry inward facing.
- Hip carry.
- Back carry.
Find out how to wear your baby in the Adapt carrier here.
It is best to consider what needs your carrier should meet before you start trying them on. A baby carrier consultation can help. Alternatively visit your local retailer to try on our Ergobaby carrier range instore.
Adjusting the Ergobaby carrier: Step by step to the perfect fit.
The design of our carriers allows for individual adjustment – so that you and your baby can experience your everyday life together in a back-friendly and ergonomic way.
Determine the correct carrying height.
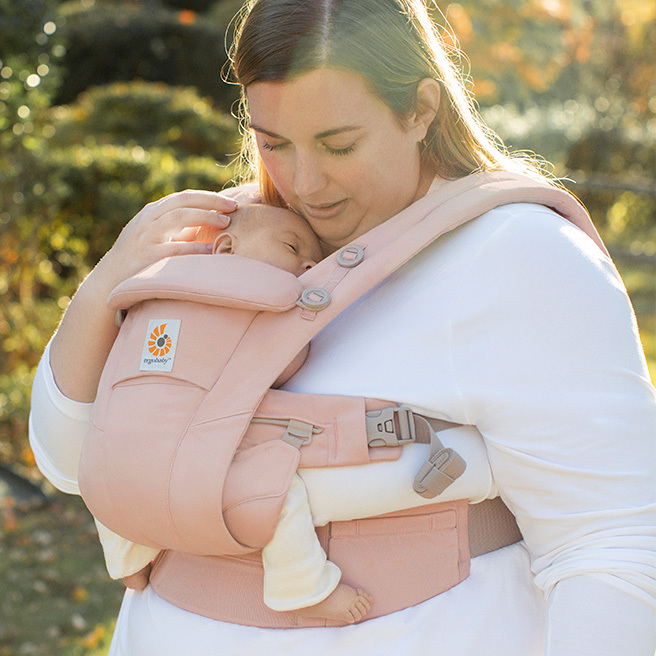
With all carry positions, there is a rule of thumb to position your baby at kissing height. This will help you find the right place for the waist belt. It’s often higher than you think and people with a caesarean scar should wear the waist belt high enough up that it doesn’t put any pressure on their scar. So ensure you are able to kiss the top of babies head easily without trying to bend your neck forward too far.
Shoulder straps parallel H-position or crossed?
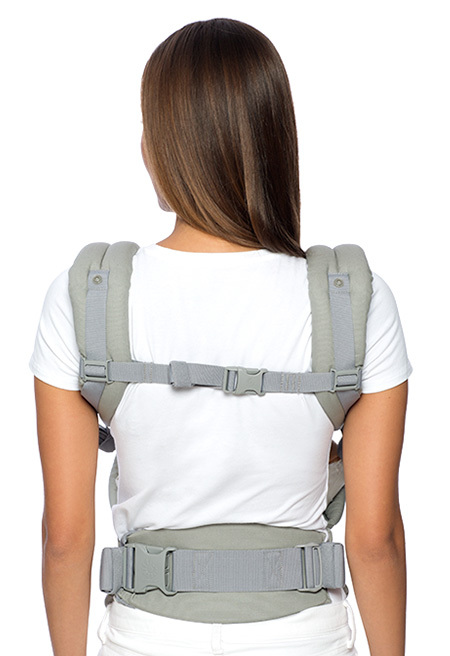

There are two options for adjusting the shoulder straps on our Omni and Adapt carriers
Either in the “classic” parallel H-position (T-shirt method) or crossed at the back. Depending on your physical proportions, one or the other might be the most comfortable or you might switch between them depending on what you’re doing. For example, it is often more comfortable for petite women or those with sloping shoulders if the shoulder straps are crossed, and it’s also a handy option if you can’t reach the back strap by yourself. If you have more broad or “square” shoulders, you will probably be better suited to the H-shape. You can see how the H-shape or T-shirt shoulder straps work on our Omni carriers here, and this is how to adjust the shoulder straps in the cross straps position for your Omni carrier.
Why not try both positions to see which one is more comfortable.
How to adjust and tighten the shoulder straps and back strap.
The back strap (also called the connection strap) is located at the back of the carrier between the two shoulder straps. To ensure optimal weight distribution on your back, it is important that the shoulder and connection straps are also optimally adjusted.
As a rule, the optimal position of the connecting strap is in the middle of the shoulder blades, just above where a bra strap sits if you wear one. If the strap is placed too high, there is a lot of weight on the neck, if it is too low, it causes tension and pain in the back. It is best if the connecting strap is pulled tightly so that the shoulder straps do not turn inwards or protrude outwards. Each wearer will have their own preferred settings.
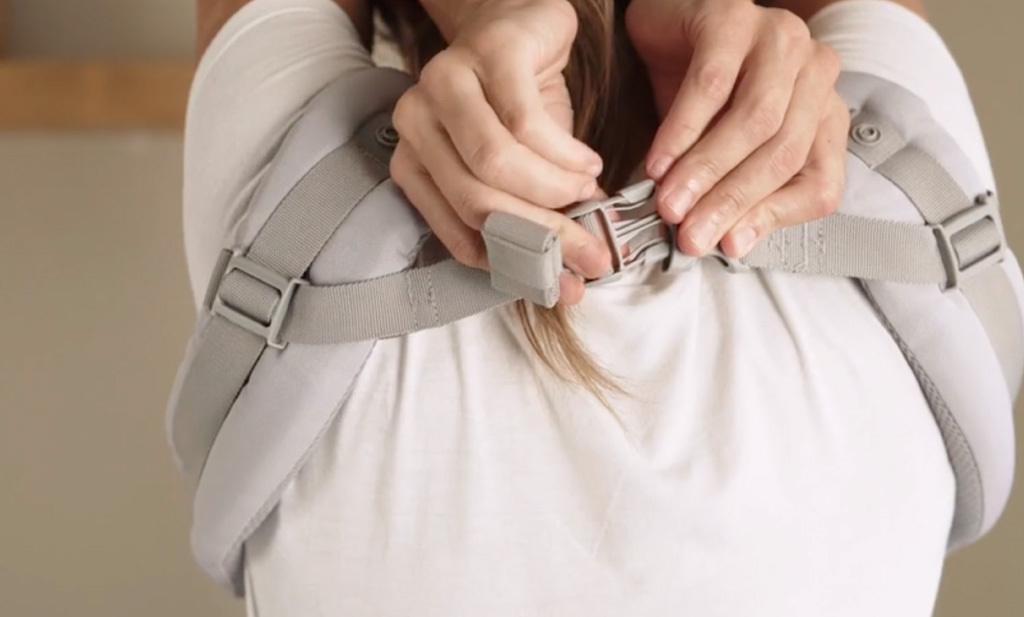
If you struggle to do the back clip up at its optimal position then you can do it up before placing your child in the carrier, this is called the T-shirt method. You can follow our instructional video here.
It is important to tighten the shoulder straps correctly – until the loose webbing is pulled through and it feels secure. They shouldn’t dig in or be pulled out of shape. Make sure to tighten them equally on each side. If they are difficult to tighten, place your hand under baby’s seat, raise them slightly to remove tension and then make sure you are pulling back in the direction of the strap – not up, down or forwards. You can see how to do this in Omni Breeze and Omni Dream carriers in the cross straps position here.
Adjusting a baby carrier correctly: Do the 10-point baby carrier check!
The following checklist should help you to make sure that the baby carrier fits properly before you go out:
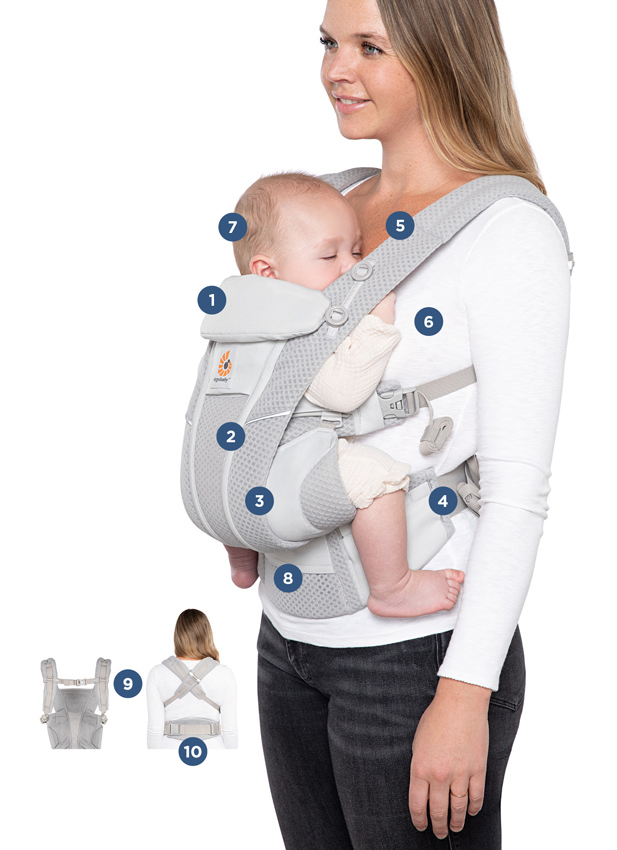
Baby
1. Head supported up to the middle of the ear for newborns or nape of the neck for older babies
2. Back adequately supported in its natural position
3. Fully supported thighs, sat deep in the seat of the carrier
4. Knees point slightly outwards, lower legs free to move
5. Face visible & airways clear
6. Arms bent, in the carrier and free to move
7. Optimal body temperature, suitable clothing
On warm days, cover baby with a hat and light clothing; on chilly days, think about protecting baby with gloves, socks, a hat, or a weather cover.
Parents
8. Waistbelt is at correct carrying height. Baby’s head is close enough to kiss
9. Connecting strap of shoulder straps/cross of shoulder straps in the middle of the shoulder blades
10. Lumbar support centered in the middle of the lower back
If you have any questions about baby carrier positioning, contact our customer service team, DM us on Instagram or contact your midwife or a babywearing consultant.